Thursday, February 23, 2006

What To Do

I had a break at work and was sitting here obsessing about everything that needs to be done to the house before we move in IN 3 WEEKS. I thought that you might like to see our To Do List. Now look at what we've actually done this week (it's the stuff in red). Yep. And mind you this is only the list for the bathroom. This doesn't even include (us) sanding and refinishing ALL of our hardwood floors, which are in every room but the kitchen and bathroom. D.I.Why? indeed. Oy.

Rant Saw

As a newbie in this field, one of the first and most basic things you need to learn are the different types of tools and their intended use. A glossary, if you will of the myriad names for each of these implements. Getting into this I've noticed that in carpentry, there are often many names for the same tool. I'm not sure why this phenomena occurs, I can't imagine a blender being called say, a "spin chopper", or a fork being called a "mouth rake". But take the power saw for instance. There's a rip saw, circular saw, table saw, sawsall, reciprocating saw, scroll saw, jig saw, band saw, rotary saw, radial arm saw, mitre saw, miter saw, compound mitre saw, chop saw, sabre saw, saber saw, cabinet saw, and I'm out of breath. The problem is, these 17 names represent 2 saws!! Ok, that's an exaggeration, but they represent 6 or 7 saws. For every saw there are 2 to 3 names. Who did this and why is my question. It's hard enough when you have no idea what the freakin thing does, much less trying to manage the different names. What happens on construction sites? Do they vote on what name to use? Do they alternate so as not to offend the other less used names? Does sabre saw feel deficient because of the big jig revolution of the 70's, rendering poor sabre nearly obsolete? So many questions. My head hurts, so I'm gonna go cut something with my jigmiteriparyarm saw.

Wednesday, February 22, 2006

Comment update

Thanks for all of the great feedback about our blog! I just changed the comment section so you don't have to sign into Blogger to post. Chuck is an active member of another blog (our good buddy Freakgirl) and really wants a talkback on ours. So talk back, people!! We encourage comments and would love to hear from you!

It is raining and wet and GROSS in Atlanta. The house feels soggy because we have to leave our windows open to keep moving the chemical smell and dust out. So all projects are on hold until the weekend...

Tuesday, February 21, 2006

Stripping ain't for sissies

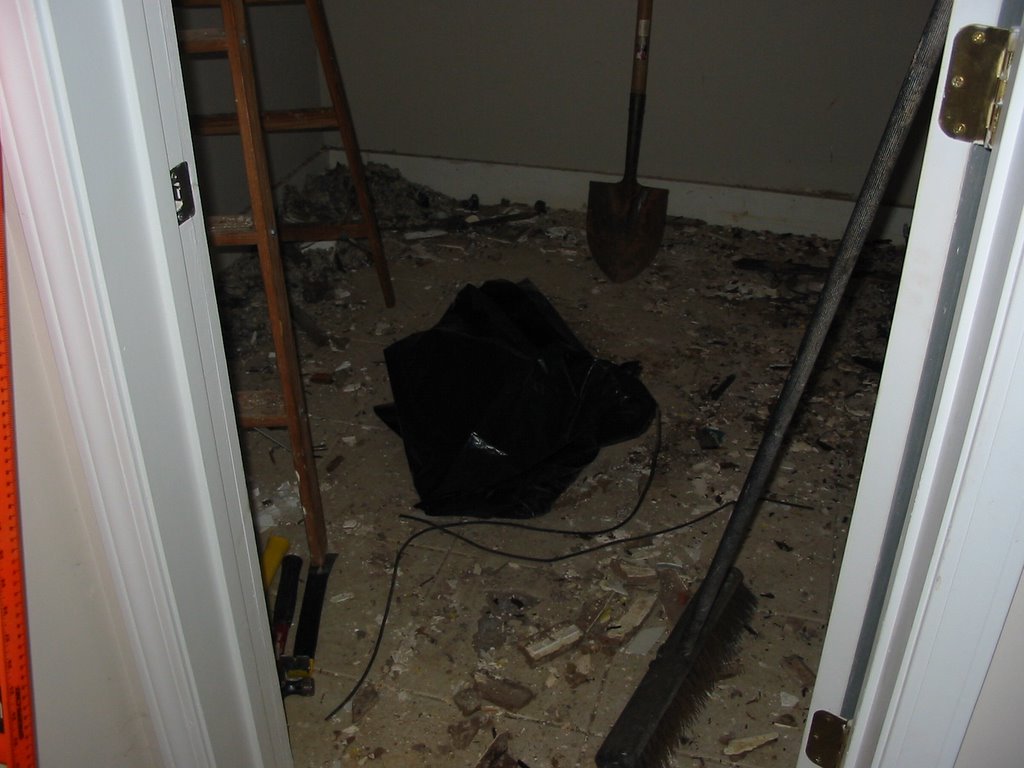
It was Chuck's idea to start stripping the woodwork in the bathroom. Delusions of grandeur filled his head about returning the wood to its original glory, and he convinced me to partake. We are FINALLY finished, and I could write for days about how much work the stripping was. How it took waaaay longer than we ever thought it would and put us almost 2 weeks behind our schedule, the probability of lead paint, the chemical stripper fumes, the cold weather, the sore arms, the MESS. blah blah blah boring. Instead, i'm going to share the tools and methods we found the most useful, and show you some before and afters.

The first project that gave Chuck wood was the medicine cabinet.


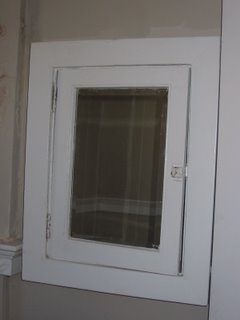
When anticipating our stripping project, we asked the man at Home D for the least toxic stripping product, hoping to save our innards. He recommended Citristrip. In retrospect, we probably would have been better off getting the most toxic, and therefore effective, stripping product, and saved ourselves the inhalation of the heat-induced lead paint fumes. Lesson learned.

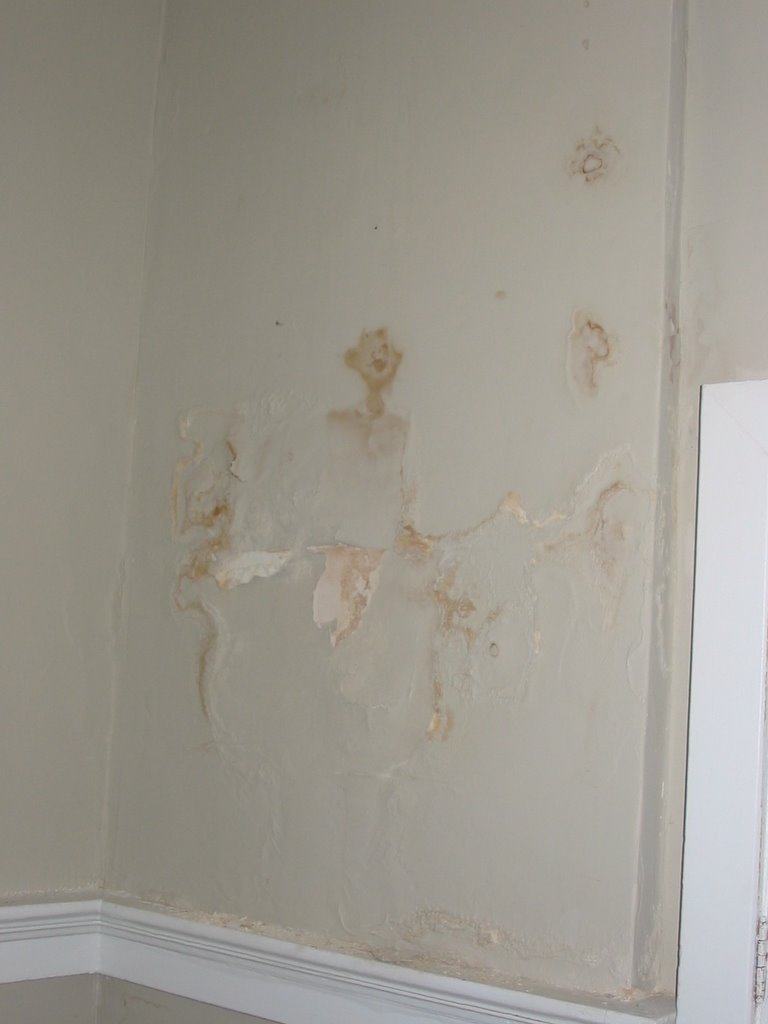
We plopped some orange citrus goop on the medicine cabinet before leaving for the night, and came back to this cool Freddy Krueger spectacle next day:


All seemed hopeful as I donned my latex gloves and went to work on the top layer of paint which melted away at the dull edge of my cheap plastic stripper tool, also recommended by the aforementioned Home D guy, as it was supposed to be easier on wood:


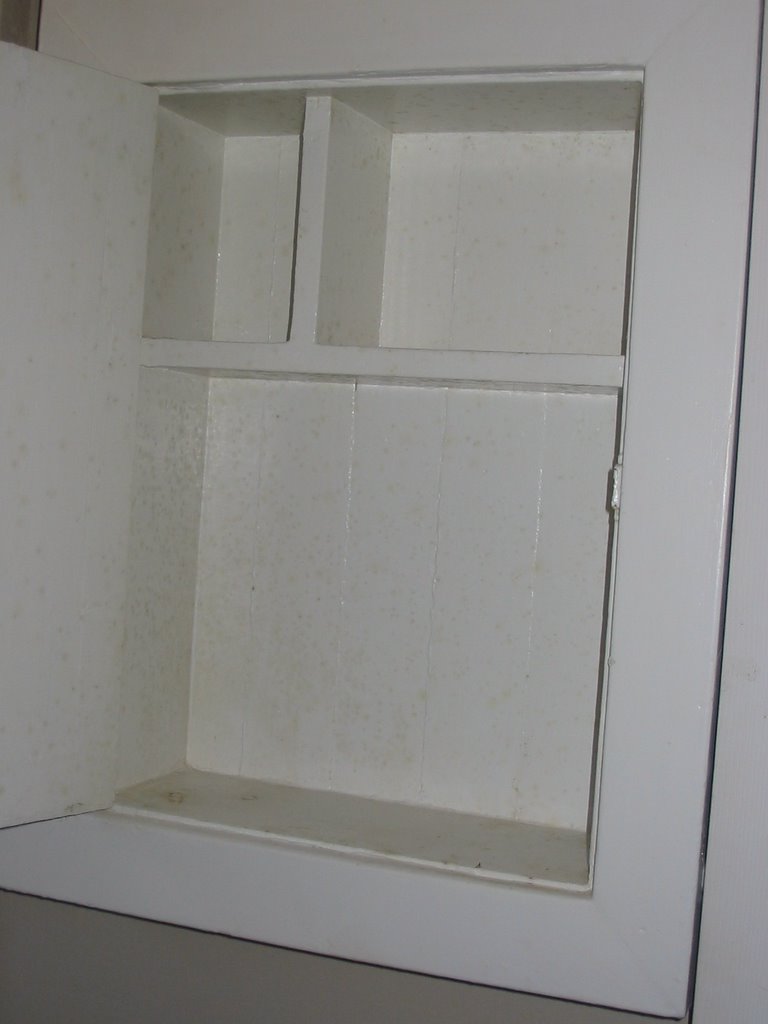
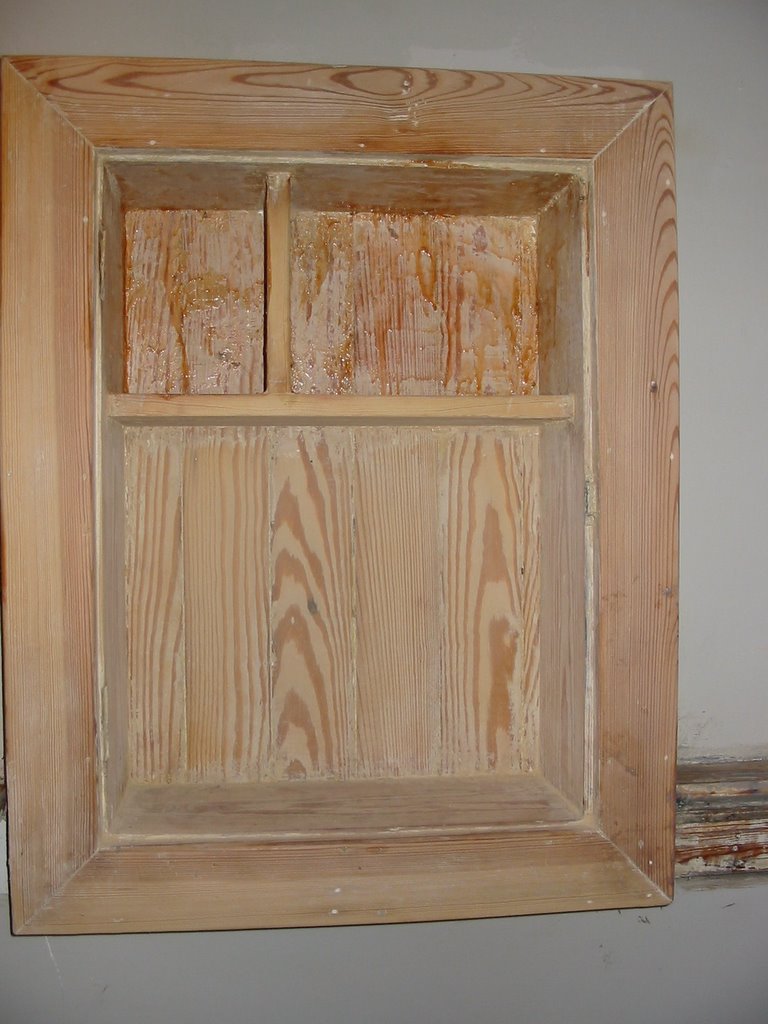
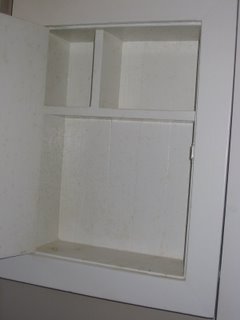
Revealed were several other, thicker layers of paint. Calling up a recent episode of Flip That House, we took to the heat gun and switched to a stripping tool with a metal edge. Some elbow grease, a final thin layer of orange goop and a quick pass with the hand sander revealed this:


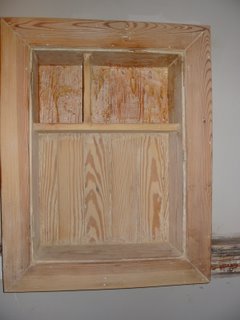
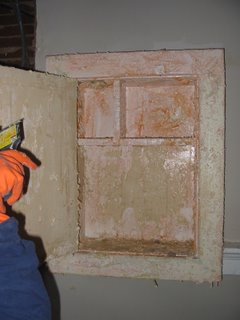
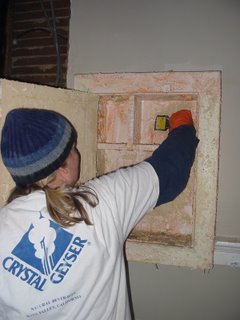
Victory. We took the front part with the mirror off to tackle separately. I'm still trying to get the (orange + black = gray) goop out of the little grooves, so it remains a work in progress. However, the interior of the cabinet was a relatively quick strip and convinced us that the rest would be a breeze.

Armed with our success, we hit the molding. This is where it got a little tricky. This time, we started with the heat gun, because the goop/paint mixture on the top layer makes such a mess and accomplishes very little. The heat gun is very effective, though rather time consuming and very labor intensive. You have to heat the paint just enough to get it to bubble, but be sure that you don't leave it on so long that you burn it. And you have to stop every 30 seconds or so to wipe the hot paint off of your tool, which to me was the most irritating part. The top layer of recent white paint came off pretty easily. However, it revealed a layer of maize-colored oil paint that was the consistency of glue, and has consequently given me tennis elbow.


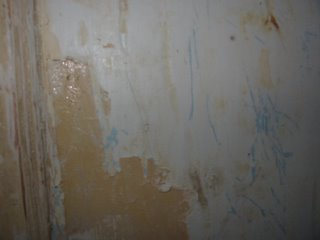
And the multiple grooves of our lovely molding were nearly impossible to get the paint out of. In utter frustration, I finally took to them 'no more wire hangers'-style with a brass bristled brush and mineral spirits, but unfortunately wasn't able to get all of the paint off without taking a few small bits of the wood with it. OK, it was more like a lot of small chunks of wood, which Chuck kindly pointed out to me.

All in all, taking the paint off of a 2" wide x 2" deep chair rail molding in a 6' x 7' room took the better part of 2 weeks. Throughout that time period, we bought and sampled every stripper tool on the market. And toward the end, developed a pretty effective method for accomplishing this grueling task. Note: immediately pitch any plastic edged stripping tool that you own. Completely useless.

You should be able to accomplish all stripping tasks with a combo of a heat gun and Citristrip, and these 3 tools:

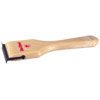
A double edge wood scraper. Good for larger surfaces, really lets you dig in to layers of without hurting the wood.


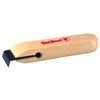
A single edge wood scraper. Good for small surfaces that you can't get into with the larger tools.


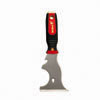
And my favorite, the 10 in 1 tool. I only know what 3 of the 10 things are that it does (1 of them being a bottle opener) but it proved to be the most versatile, and therefore effective, of all of the stripping tools.


As we near the end, I have to ask myself, was it worth the work? I can't say that if we had the decision to make again knowing what we know now (which is that it is a lot of work - did I mention that?) that we would have gone through with it. Especially, since we ultimately decided that in keeping with the style of our renovated bathroom, we will likely be painting the wood we stripped. That being said, now this beautiful original woodwork will have 1 layer of paint on it and not 10, and I do believe this will make a difference. As soon as we finish sanding, I will post some pictures, and you can decide for yourselves.

To close, here is a helpful home remedy tip from our handyman, Lee Tucker:

In order to keep your kitchen drain from EVER clogging up, pour a gallon of clorox & a gallon of vinegar down the drain, and rinse with a lot of hot water. Do this every month for four months in a row, then every 6 months as maintenance. He swears by this preventive measure, as he has lived in his home for 33 years, and has NEVER had a drain clog. We had a clog and we used drano. We were reprimanded. Drano is bad. Good to know.

Wednesday, February 15, 2006

The Mailbox Fiasco

Chuck took a break from stripping woodwork to install our mailbox.

Chuck: So how hard can it be to put up a mailbox?  In the grand scheme of home renovation, it was a task I thought I could do with my eyes closed.  Turns out the result looked as if I had.  I get the mailbox, I get the fancy post and I get the required supplemental materials (quickcrete, etc.).  So far, so good.  I figure it's easier to attach the mailbox to the post first, then sink it into the earth, so I set up in the rear bedroom to do the deed.  After inspecting the post, it seems as if it were manufactured incorrectly as the mailbox did not slip down onto the post base.  The rear of the base was not scored all the way, so the box sat up a couple of inches in the back.  Not acceptable. 

Emilie inserts: I was in the bathroom stripping (not as it sounds) and Chuck came out of the bedroom looking a little wild eyed and said he needed some privacy. I asked why, he said he was about to start cursing. Turned on his heel and went back into the bedroom.

Chuck: So, feeling like it would be easier to modify the box rather than go back to the Home D to exchange the post, I get some pliers and started bending the crap out of the rear of the box so it would sit flush.  Great.  Once I bend it like Beckham, I put the box on and realize there is a substantial gap between the mailbox sides and the post base.  Almost as if the post or box had been...manufactured incorrectly.  Emilie comes by and asks how it's going and I simply shut the door and tell her that it's very dangerous work I'm doing.  Safety first.  After wrestling with the setup and my male ego, I emerge and tell Emilie that we need to go look at some other mailboxes in the neighborhood.  Turns out I need an EXTRA piece of wood to serve as the box base that attaches to the post!  Sure would be helpful if they sold something like that or indicated that you needed one. 

Emilie:


Chuck: So I find a scrap piece of wood, carefully measure it so that it sits flush under the box and screw it in to the post!  Victory!  I borrow a post hole digger (my favorite lawn implement):


I dig my hole and throw the sucker in there.  The concrete is poured and the mailbox is in and I'm feeling so satisfied with my skills that I go home and drink a beer and wait for the mailman to come by and start filling our new box with good news.  The next day, Emilie goes to check the mail and the freakin door won't open more than an inch. 


It's almost as if the box base had been... manufactured incorrectly.  Turns out I made the base the same size as the box, thus preventing the door from opening cleanly. 


An easy fix, I pop off the box, cut the base back an inch and throw the box back on.  Success at last.  As it happens, the only thing manufactured incorrectly in this fiasco was me.

Emilie: Not so:)

Sunday, February 12, 2006

Back to the beginning

Chuck and I closed on our house on Friday. Our dream come true - a fantastic fixer-upper in the East Lake neighborhood of Atlanta, GA. And we're doing most of the work ourselves.


We took lots of pictures and intended to start blogging immediately, but couldn't come up with a name. After multiple attempts (names like Renovation Station or Destination: Divorce?) we finally agreed on D.I.Why? Why? Because we like it.

The main purpose of our blog is to share our home renovation progress with those who can't be here to see it in person. We also may vent a little, share tips and tools that we think may be helpful to other DIYers, and most importantly, continue to learn (and disseminate) as much as we can about the vast subject of renovating a home. We encourage comments and feedback, especially from those more knowledgeable than us. We may even ask for your opinion from time to time. And we may or may not listen to you.

Since we're a week behind in our blog, we'll get everyone caught up with the highlights. Unfortunately, we don't have as much to share as we would like, since we haven't gotten nearly as much done as we thought we would. (insert chorus of "I told you so's)

Stage 1 - Demo

We made our first glorious trip to Home Depot the weekend before so we would have all of the tools we needed to get started as soon as we closed on the house. Saturday was demolition day. We entered our house as official homeowners on Saturday morning and I immediately started looking for things to break. I targeted a gross gold towel bar in the bathroom, lunged for the heavy hammer and was about to take that sucker off, when Chuck grabbed my elbow, pried the hammer from my grasp and handed me a screwdriver. Lesson #1.

Our first project is to renovate the main bathroom. We were anxious to take this wall in the bathroom down, to see what we were in for:


It was clear there was water damage, but we had no idea of the source. A little scary, since we had no idea what we would find. But down she came:


Which revealed some sort of vent pipe that we traced up to the roof. Turns out that when the roof was replaced (around 2 years ago) someone didn't finish sealing the pipe. Chuck fixed the problem in 5 minutes with a tube of silicone. I sort of cursed the guy who left it like that, then sort of thanked him because we got to tear down a wall.

We also spied an old water spot in the corner of the ceiling:


So down she came:


Taking a very old plaster ceiling down is no easy feat, and provides an excellent arm workout. And leaves a gnarly mess:


I also tried my hand at removing floor tiles:


We decided to wait on taking the rest of them up, however, because we want to re-use the backerboard they were laid on, and we're about to make an even bigger mess.

Next up..... stripping all of the woodwork in the bathroom.